
Stop carpenter bees in their tracks with our comprehensive guide on setting up an effective trap; discover more inside!
How to Set up Carpenter Bee Trap
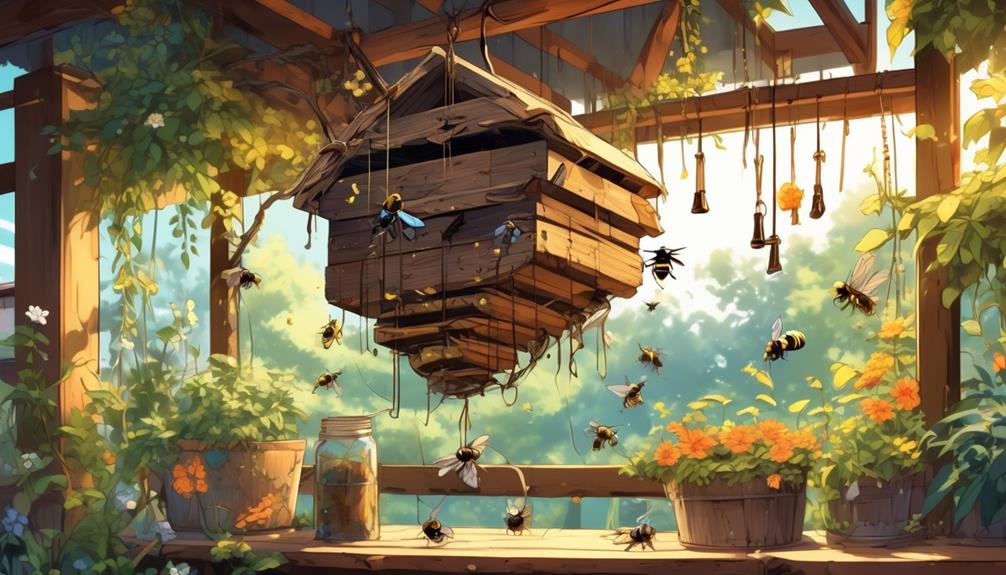
Battling bothersome bees can be a big task, but setting up a carpenter bee trap can make it more manageable. You're likely here because you've noticed the telltale signs of these wood-boring insects and you're seeking a solution.
The good news is, you've come to the right place. You'll learn how to gather the necessary supplies, construct the trap, and find the ideal placement to catch these critters. Most importantly, you'll learn how to maintain your trap to keep it effective for longer.
So, are you prepared to find out what your first step should be?
Key Takeaways
- Carpenter bees are solitary creatures that tunnel into wood to lay their eggs.
- They prefer weathered, unpainted wood.
- Carpenter bees can cause significant damage to wooden structures.
- Carpenter bees are not generally aggressive and can be identified by their shiny, hairless abdomen.
Understanding Carpenter Bees

To effectively set up a carpenter bee trap, it's crucial to first understand the nature and behavior of these wood-burrowing insects. Carpenter bees are solitary creatures, meaning they don't live in hives like honeybees, but rather, they tunnel into wood to lay their eggs. They're not generally aggressive, but can cause significant damage to your wooden structures.
You'll often find carpenter bees hovering around eaves, window trims, and deck railings. They prefer weathered, unpainted wood. So, if you see round, smooth holes in these areas, you're likely dealing with carpenter bees.
Don't get them confused with bumblebees, though. Carpenter bees have a shiny, hairless abdomen, while bumblebees are fuzzy all over. This distinction is key in devising an effective trap.
Gathering Necessary Supplies
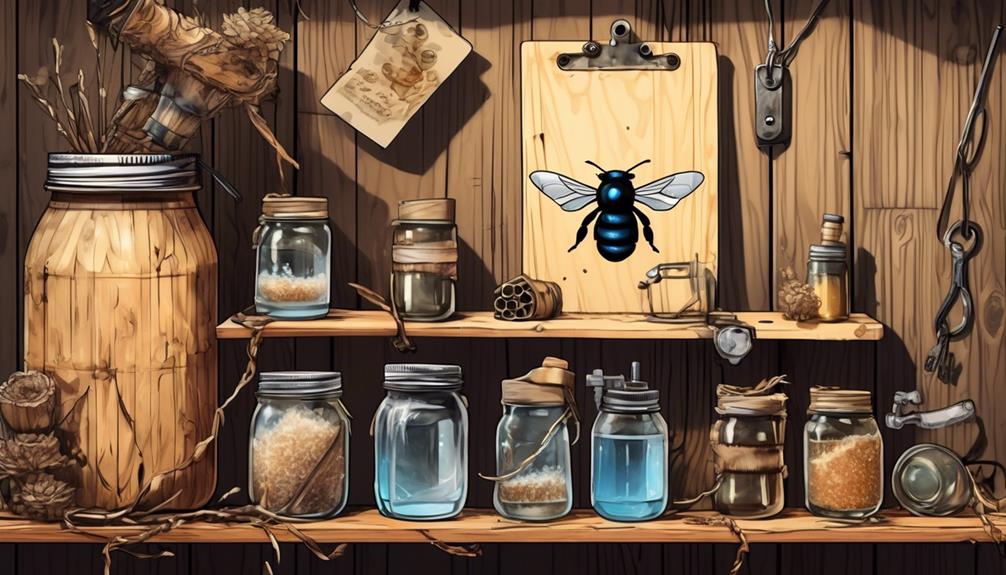
Before you can build your carpenter bee trap, you'll need to gather a few essential supplies, ensuring effectiveness in your endeavor. These supplies are readily available at local hardware stores or can be ordered online.
Firstly, get a 4×4 wooden block. This serves as the foundation of your trap, so make sure it's firm and untreated. Avoid using chemically treated wood as it might deter the bees.
Secondly, acquire a plastic water bottle. This will act as the receptacle to contain the trapped bees. Opt for a clear one so you can easily monitor the trap's effectiveness.
You'll also need a drill with a 1/2 inch drill bit to make entry holes in your wooden block. This size is ideal as it closely mimics the carpenter bee's natural borings. Additionally, invest in some 1/2 inch wooden dowels. These will function as the tunnels leading the bees into the bottle.
Lastly, grab a weather-resistant adhesive like a strong glue or sealant. This is used to attach the bottle to the wooden block. Remember, precision is key in this process to ensure the trap functions optimally.
With these supplies at hand, you're well-equipped to construct your carpenter bee trap.
Constructing the Bee Trap
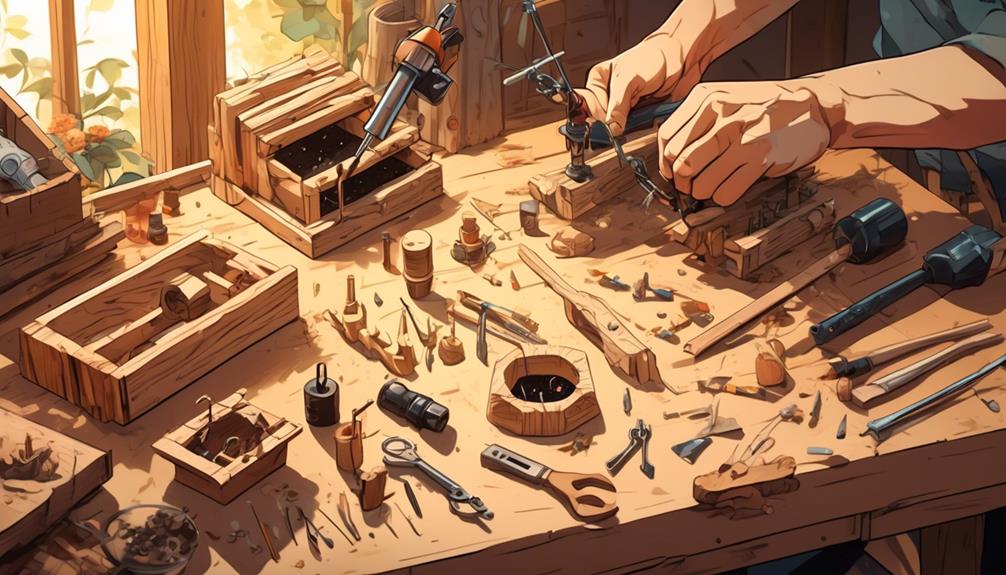
Now that you've gathered all your supplies, let's dive right into constructing your carpenter bee trap.
Start by drilling a 1/2-inch hole into the center of one end of your 4×4 wood block. This hole should be about 3 to 4 inches deep. It's important to make sure the hole is straight; this will be the tunnel for the bees to enter the trap.
Next, drill several 1/2-inch holes around the sides of the block, angling upwards towards the center hole. These serve as additional entrances for the bees.
Once you've drilled these holes, you'll attach your plastic bottle to the bottom of the wood block. This will serve as the containment area for the bees.
Seal the connection between the wood and bottle using your caulk or adhesive, ensuring there are no gaps for the bees to escape.
Ideal Trap Placement
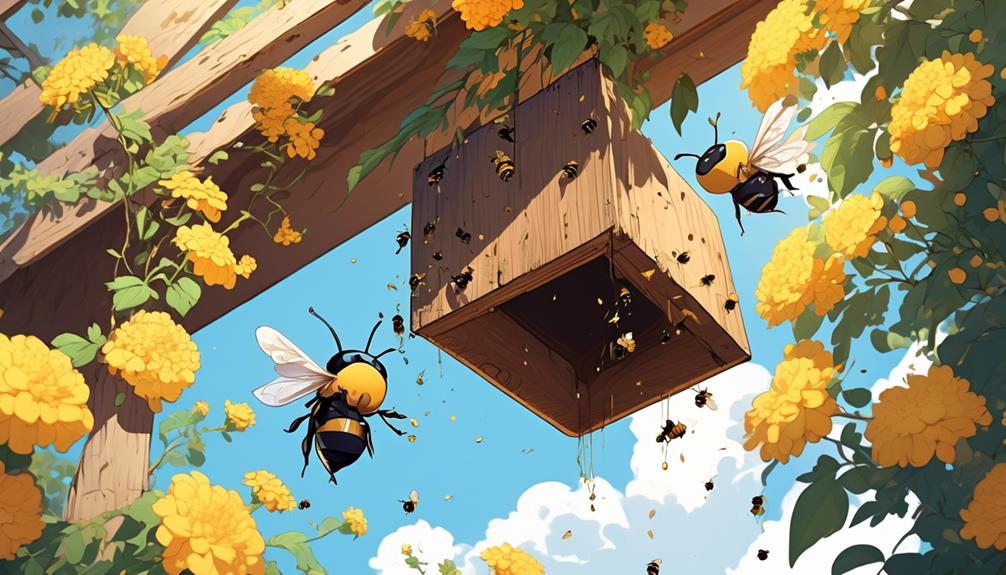
After crafting your carpenter bee trap, the next crucial element for success is its strategic placement. Your trap's effectiveness depends heavily on its location, and there are certain factors you must consider for optimal results.
Firstly, carpenter bees prefer sunny locations, so placing your trap in a well-lit area can increase your chances of trapping them. Secondly, these bees often nest in wood structures, making areas near wooden buildings, decks, or fences ideal for placement.
Here's a helpful table to guide you:
Location | Reason |
|---|---|
Sunny spots | Bees prefer well-lit areas. |
Near wood structures | Bees often nest in wood. |
Under eaves | Bees are attracted to sheltered areas. |
Close to flowers | Bees are drawn to pollen sources. |
Away from high-traffic areas | Bees prefer quiet, undisturbed areas. |
Lastly, ensure your trap is hung at a height that is easily accessible for routine maintenance. It's crucial not to place it too high as you'll need to check and clean it regularly. Remember, the key to a successful trap is strategic placement as well as diligent upkeep.
Maintaining Your Bee Trap
Regular upkeep of your carpenter bee trap is an often overlooked, yet critical component for ensuring continued effectiveness. Without proper maintenance, the trap's performance can deteriorate, and it may not capture bees as efficiently as when it's clean and properly maintained.
Firstly, you should routinely check your trap for dead bees. If you don't remove them, they can block the entrance, preventing other bees from entering. It's best to clear out the trap every two weeks during peak season, which is usually in the spring and summer.
Next, remember to inspect the trap for any signs of wear and tear. If you notice any cracks or holes that weren't there before, it's time to repair or replace your trap. Bees can escape through these openings or even avoid the trap altogether.
Lastly, ensure that the bait in your trap is still effective. Over time, the scent can fade and won't attract bees as well. Replace the bait every few weeks for the best results.
Taking care of your bee trap isn't a huge task, but it's an important one. With regular maintenance, you'll keep those pesky carpenter bees at bay.
Conclusion
As you've seen, setting up a carpenter bee trap isn't a daunting task. All you need is the right materials, a bit of craftsmanship, and strategic placement.
Remember, it's essential to maintain your trap for optimal results.
Now that you're armed with this knowledge, you're prepared to handle your carpenter bee problem efficiently. It's time to protect your wooden structures from these pesky critters.
You've got this!