Kindle your knowledge on preventing beeswax candle tunneling, and discover secrets to a longer-lasting, even burn.
How to Prevent Beeswax Candles From Tunneling?
Just as a river carves its path through a landscape over time, your beeswax candles can develop a phenomenon known as tunneling, where the wick burns straight down the center, leaving a ring of hard, unburned wax on the edges.
If you've ever wondered why this occurs and how you can prevent it, you're in the right place. As a candle connoisseur, you'll appreciate knowing these essential tips and techniques that can ensure your candles burn evenly and efficiently, enhancing their longevity.
So, stick around, and you might just uncover the secret to perfecting your candle-burning experience.
Key Takeaways
- Burning the candle long enough during the initial lighting is crucial to prevent tunneling.
- Beeswax candles have a 'memory' and will continue to burn within the initial boundary if the wax pool doesn't reach the outer edge.
- Using the correct wick size is important in preventing tunneling.
- Regular maintenance techniques, such as trimming the wick and avoiding drafts, can help prevent tunneling and ensure even burning of beeswax candles.
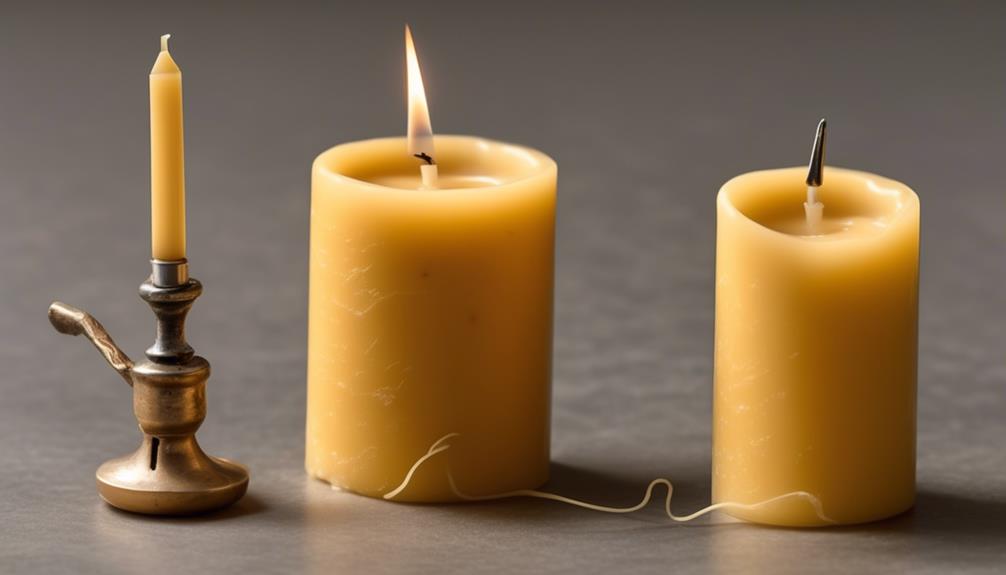
Understanding Beeswax Candle Tunneling

To prevent your beeswax candles from tunneling, it's crucial to first understand what candle tunneling is and why it occurs.
Tunneling is when your candle burns straight down the middle, leaving a wall of hard, unused wax around the edges. It's a common issue and can drastically reduce the lifespan of your candles.
Now, why does this happen? It's primarily a result of not allowing the candle to burn long enough during its inaugural light. Beeswax candles have a 'memory'. This means the first time you light your candle, the wax pool that forms should reach the outer edge. If it doesn't, your candle will remember this and continue to burn within that initial boundary, causing the dreaded tunnel.
It's also important to note that the wrong wick size can contribute to tunneling. A wick that's too small won't produce enough heat to melt the wax evenly, leading to tunneling. So, when you're buying or making beeswax candles, always ensure they've the correct wick size.
In the end, understanding tunneling is your first step in preventing it. Armed with this knowledge, you're well on your way to maximizing your beeswax candles' burn time.
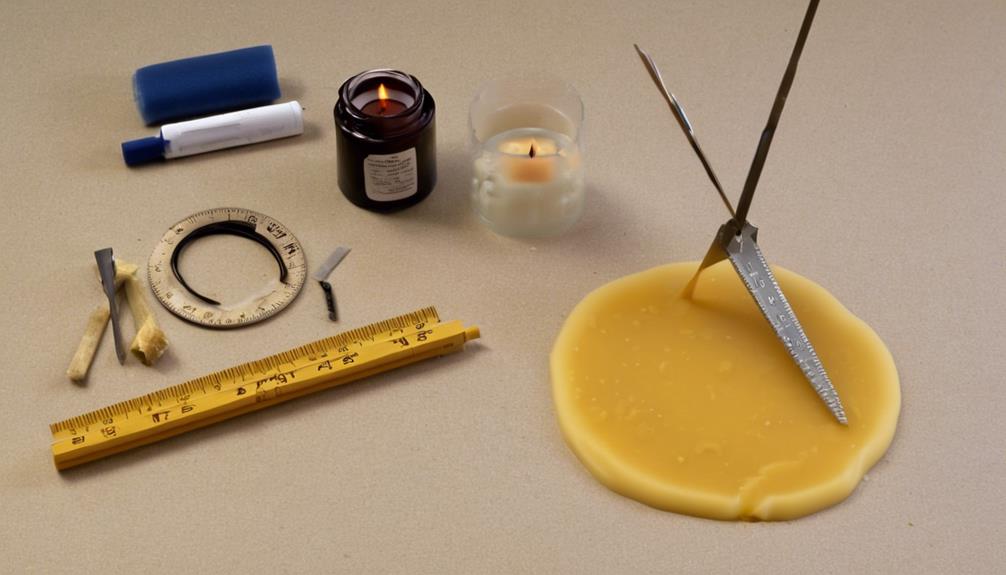
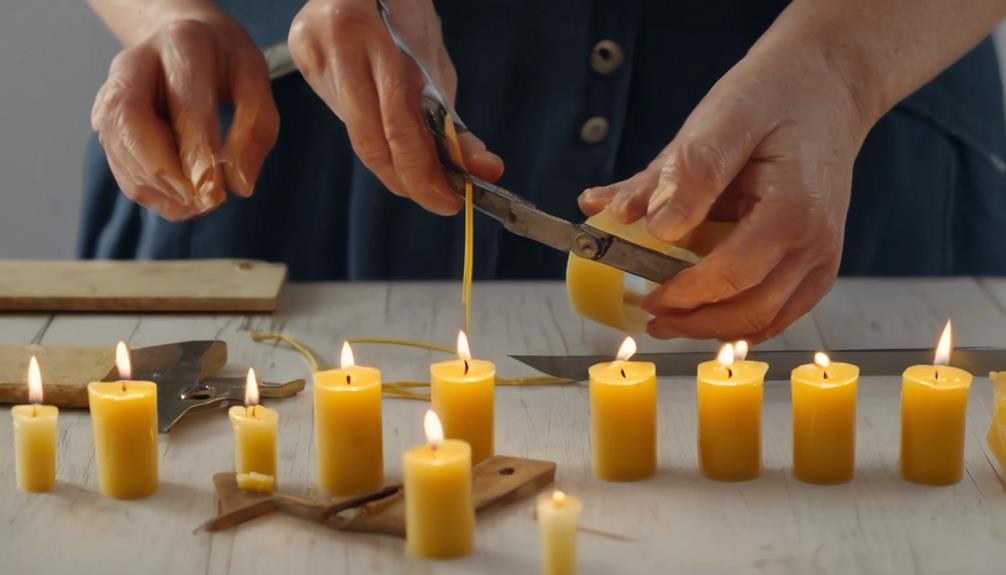
Essential Tools for Candle Care
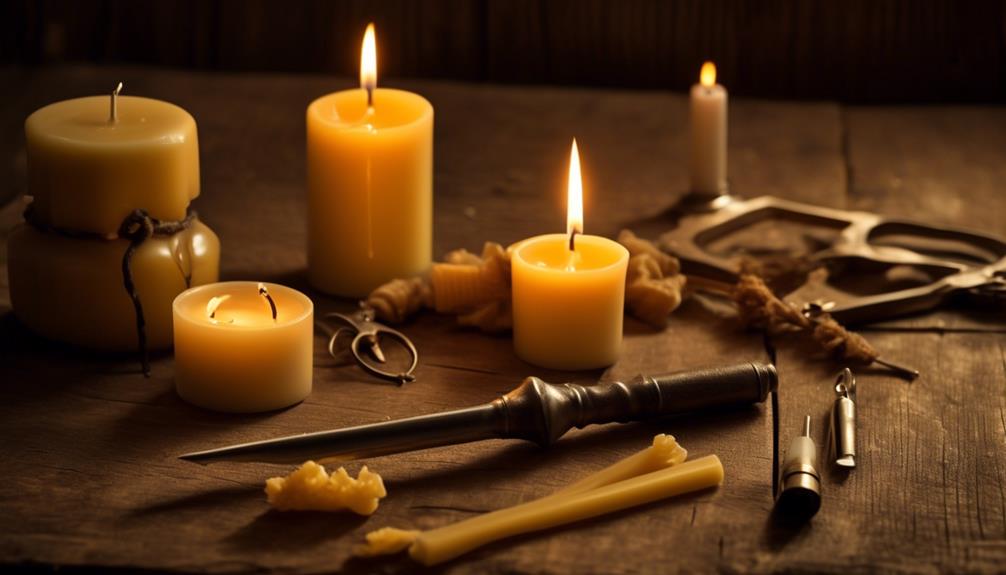
Having grasped the concept of candle tunneling, let's now equip you with the essential tools for proper candle care, ensuring you get the most from your beeswax candles.
Firstly, a wick trimmer is a must-have. It's designed to cut your wick to the ideal length, preventing soot build-up and prolonging your candle's life.
Secondly, a wick dipper can extinguish your candle without the smoke and smell associated with blowing it out directly. By bending the wick into the wax, it also sets the stage for the next perfect burn.
A candle snuffer is another crucial tool. It safely extinguishes the flame while preventing hot wax from splattering. Not all candles need to be snuffed, but for those that do, it's an invaluable asset.
The last essential is a candle lighter. Regular lighters may not reach the wick as your candle burns down, risking injuries. A candle lighter's elongated design solves this problem.
Lastly, always remember that quality beeswax candles deserve quality care. With these tools at your disposal, you're on your way to having a safer, cleaner, and more enjoyable candle-burning experience.
The Initial Burn: A Crucial Step
While you're now equipped with the necessary tools for candle care, it's crucial to understand the importance of the initial burn in preventing your beeswax candles from tunneling. The initial burn is the first time you light your candle. This crucial step helps to set the stage for the candle's entire life.
To do it right, you'll need to let the candle burn long enough so that the wax melts across the entire diameter of the candle. This process is called creating the 'memory ring'. A good rule of thumb is to allow the candle to burn for one hour for each inch of its diameter. So, if your candle is 3 inches in diameter, let it burn for at least 3 hours.
If you don't create a full memory ring during the initial burn, the candle will start to tunnel. This means the wax around the edges remains solid, leading to a hole in the center of the candle. This not only shortens your candle's lifespan but also reduces its light output.
Regular Maintenance Techniques
After setting the stage with a proper initial burn, you'll need to implement regular maintenance techniques to ensure your beeswax candle continues to burn evenly and efficiently.
The first technique is 'burn cycle maintenance'. Make sure you burn your candle long enough each time to melt the wax all the way to the edge of the container. This prevents wax from building up on the sides and causing tunneling.
Secondly, you should 'maintain your wick'. Trim the wick to about ¼ inch before each burn, but not shorter. A too-short wick can cause your candle to tunnel. Always remember to let the candle cool before trimming the wick and never leave the trimmings in the candle.
Lastly, 'protect your candle'. Keep your candle out of drafts, which can cause it to burn unevenly and lead to tunneling. Also, maintain a steady burning environment. Drastic temperature changes can cause the wax to crack, disrupting the even burning process.
Troubleshooting Common Candle Problems
Despite your best efforts, you might occasionally encounter problems with your beeswax candles, such as tunneling, soot buildup, or a wick that won't stay lit. Here's how you can troubleshoot these common issues.
Tunneling happens when the candle burns down the middle, leaving a ring of hard wax on the sides. It's usually caused by not allowing the candle to burn long enough in the first burn or each time you light it. To fix this, make sure the entire surface of the candle melts during each burn.
Soot buildup is often due to a wick that's too long. When it's trimmed to the right length (about a quarter of an inch), it'll burn more cleanly, reducing soot. If the wick is the correct length and there's still soot, try moving the candle away from drafts, as they can cause the flame to flicker and produce soot.
Frequently Asked Questions
What Are the Benefits of Using Beeswax Candles Over Other Types of Candles?
You'll find several benefits to using beeswax candles over other types. They're natural, hypoallergenic, and free of harmful byproducts. Unlike paraffin candles, they don't release soot or toxins.
Beeswax also burns longer, so you'll get more for your money. Plus, the natural honey scent is a lovely bonus. They even produce negative ions that can purify the air in your home.
Are There Different Types of Beeswax Candles and How Do They Vary?
Yes, there are different types of beeswax candles. They vary in shape, size, and scent.
Pillar candles are large and robust, perfect for longer burning times.
Taper candles are tall and slender, great for dining tables or romantic settings.
Scented beeswax candles contain essential oils, providing therapeutic benefits.
Votives are small and versatile, ideal for bathrooms or small spaces.
Can Beeswax Candles Cause Allergic Reactions?
Yes, beeswax candles can cause allergic reactions. If you're allergic to bee products, you'll likely react to beeswax candles.
Symptoms include skin rashes, respiratory issues, or even anaphylaxis in severe cases.
It's best to test your sensitivity by using a small beeswax product first. If you don't experience any adverse reactions, you're probably safe to enjoy the warm, natural glow of a beeswax candle.
How Can I Safely Dispose of Beeswax Candle Remnants?
You're looking to dispose of beeswax candle remnants, right?
It's quite easy. Don't just toss them in the trash! You can safely melt them down in a double boiler, then pour the wax into a container, let it cool and harden.
You can even reuse this wax to make new candles. If you don't want to reuse it, simply place the hardened wax in a biodegradable bag and dispose of it in your compost bin.
Where Can I Purchase High-Quality Beeswax Candles?
You can purchase high-quality beeswax candles from various sources.
Specialty candle shops often carry a wide range, as well as online retailers like Amazon and Etsy.
Also, check out local farmer's markets or craft fairs, as they often have handmade options.
Always ensure you're buying 100% beeswax, as some candles are mixed with paraffin.
Conclusion
So, you've got the tools and the know-how to prevent beeswax candle tunneling. Remember, the initial burn is crucial, set the stage right. Regular maintenance is key, don't forget to trim the wick.
If you encounter problems, don't panic; there are solutions. Now, your beeswax candles will burn evenly, last longer, and fill your home with a warm, natural glow.
Say goodbye to tunneling and hello to a brighter, more beautiful candle experience.