Embark on a delightful culinary journey with the rich and flavorful world of Brazilian Honey Cakes, known as “Pão de Mel.” This traditional Brazilian dessert captures the essence of warmth, sweetness, and cultural heritage. Blending aromatic spices, the sweetness of honey, and the richness of chocolate, Pão de Mel offers a sensory experience that is both indulgent and comforting. Follow this step-by-step guide to bring the authentic taste of Brazil to your kitchen, creating these delectable honey-infused cakes that are perfect for any occasion. Whether you’re a seasoned baker or exploring new flavors, the journey to crafting Pão de Mel promises a rewarding treat for your taste buds.
Check List (Ingredients Needed)
Spiced Milk Infusion:
| Ingredients |
| Milk |
| Spices (cinnamon, ground cloves, nutmeg) |
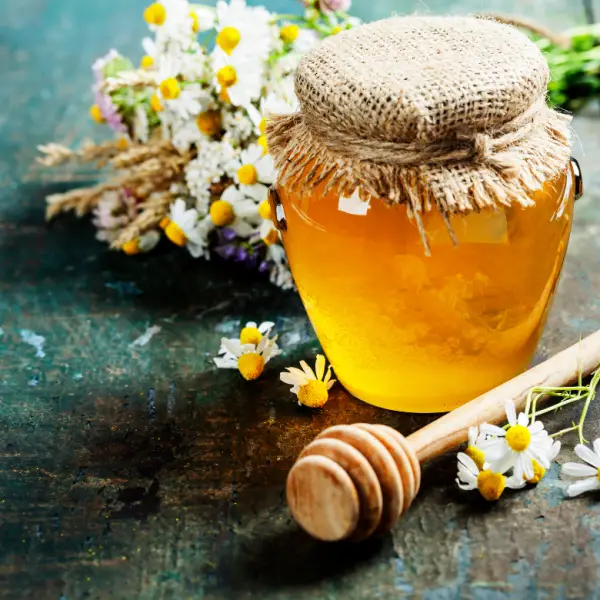
| Honey |
Batter and Cake Base:
| Ingredients |
| Eggs |
| Salt |
| Brown sugar |
| Vanilla extract |
| Vegetable oil |
| All-purpose flour |
| Cocoa powder (Dutch-process) |
| Baking powder |
| Baking soda |
Filling and Coating:
| Ingredients |
| Dulce de leche |
| Bittersweet chocolate (for coating) |
Instructions
1. Prepare Spiced Milk:
Begin by combining cinnamon, ground cloves, and nutmeg in a saucepan. Gently simmer this aromatic blend, infusing the spices. Introduce honey to the mixture, cover, and let it steep, allowing the flavors to meld. Once sufficiently infused, cool the spiced milk, creating the fragrant base that will add depth to your Pão de Mel.
2. Blend Ingredients:
Transfer the spiced milk to a blender, creating the central liquid for your Pão de Mel. Add a generous pour of vegetable oil, crack open a few eggs, sprinkle in brown sugar, and add a splash of vanilla extract. Blend the ingredients until you achieve a smooth liquid masterpiece, forming the foundational mixture for your flavorful journey.
3. Mix Dry Ingredients:
Pour the liquid blend into a waiting bowl. Introduce a blend of cocoa powder, baking soda, baking powder, and all-purpose flour to the bowl. Gently sift these dry ingredients to maintain an airy, cloud-like texture, ensuring not to overmix. This delicate balance is key to the artistry of your Pão de Mel.
4. Fill Ramekins and Bake:
Armed with your velvety batter, fill ramekins halfway, recognizing that these cakes, like dreams, will rise during baking. Place the ramekins in a preheated 350°F oven for 15-20 minutes. Keep a keen eye on them until a toothpick emerges clean, signaling that the heart of your Pão de Mel is baked to perfection.
5. Add Dulce de Leche:
Unmold the cooled cakes with anticipation. Expertly slice them in half, creating the canvas for the sweet filling. Spread dulce de leche generously, allowing it to embrace the cake halves in a symphony of flavors. Unite the halves into a harmonious whole, creating the heart of your Pão de Mel.
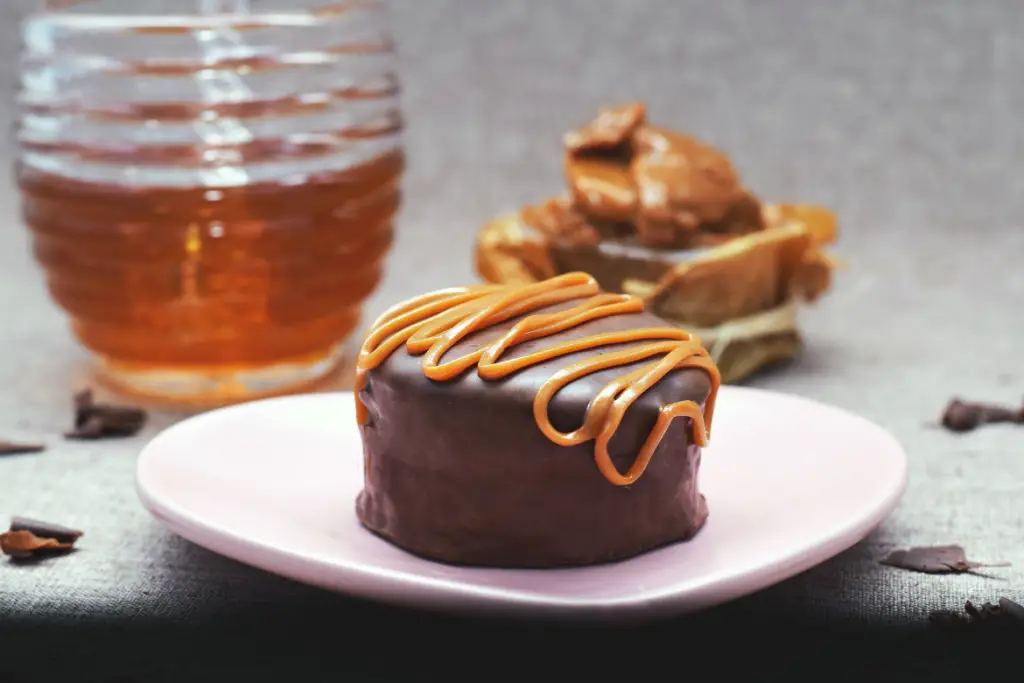
6. Coat in Chocolate:
The final act of your culinary journey involves a dance with tempered chocolate. Dip each cake into the rich, bittersweet chocolate, ensuring a thorough coating. This step not only seals the memories but also creates a visual masterpiece. Transfer these chocolate-covered delights to a parchment-lined stage, where they set, becoming a testament to your culinary prowess.
Culinary Heritage and Background:
Pão de Mel, with its roots deeply embedded in Brazilian culinary culture, is more than just a dessert – it’s a testament to the rich history and vibrant flavors of the region. Originating from a blend of influences, the recipe has evolved, reflecting the diverse culinary tapestry of Brazil. The artful combination of spices, honey, and chocolate mirrors the cultural melting pot that defines Brazilian cuisine. Pão de Mel is not merely a treat; it’s a cultural symbol passed down through generations, embodying the spirit of celebration and shared moments. Whether enjoyed during festivities, family gatherings, or as a heartfelt gift, these honey-infused cakes encapsulate the warmth and hospitality that define Brazilian culinary traditions.