Master the art of making your own beeswax taper candles and illuminate your home with warm, natural light; find out how!
How to Make Beeswax Taper Candles?
Like a skilled craftsman molding clay, you too can shape beeswax into beautiful taper candles. It's a process that requires patience and precision, but the end result is well worth the effort. You'll have a handcrafted product that not only provides a warm, natural light, but also a unique satisfaction that only comes from creating something with your own hands.
But before we get into the nitty-gritty of melting wax and dipping wicks, let's first discuss the tools and materials you'll need. Hold on tight, because this is where things start to heat up.
Key Takeaways
- Use 100% pure beeswax sourced from local beekeepers for high-quality candles.
- Melting the beeswax in a double boiler setup ensures safe and controlled melting.
- Dip the pre-cut wicks into the warmed beeswax, building layers for beautiful taper candles.
- Properly cool and trim the candles for a clean and even burn, and follow safety precautions for candle care.
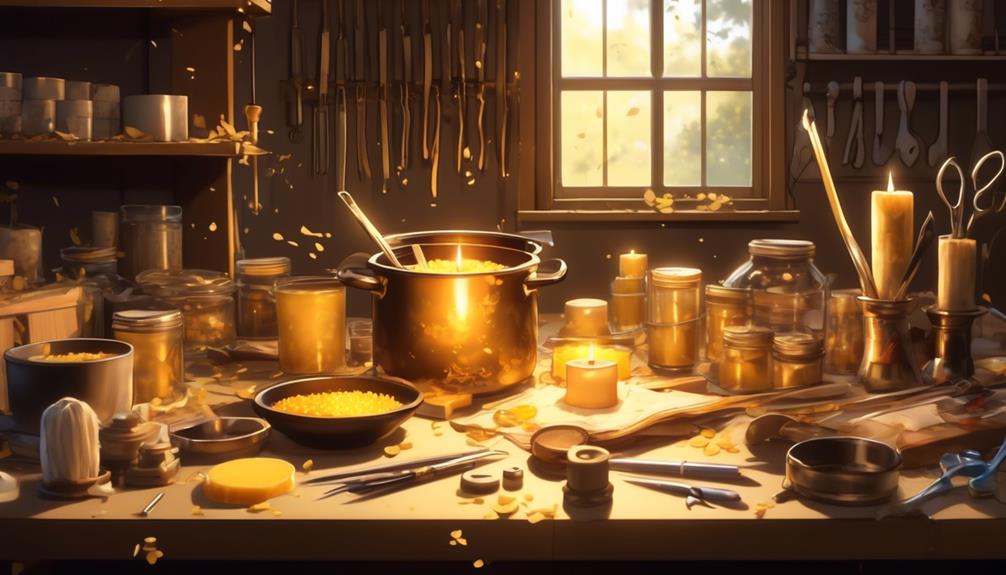
Gathering Your Materials
Before embarking on the delightful journey of candle making, it's essential to gather all necessary materials to ensure a smooth and efficient process. You'll need pure beeswax, a double boiler, a metal or heatproof glass container, wick, wick holders or tabs, a thermometer, and a pair of scissors.
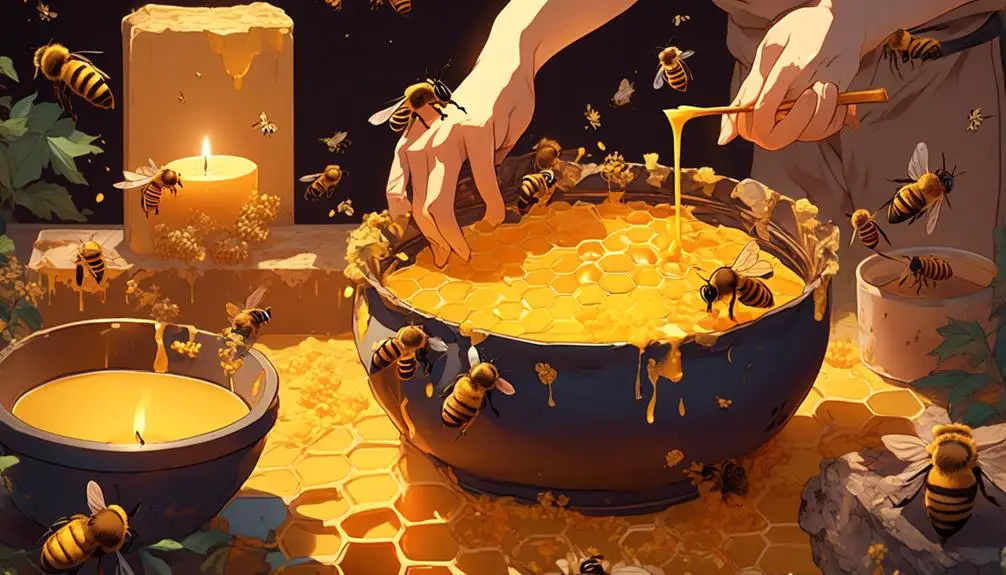
Don't skimp on the quality of your beeswax. It's the heart of your candle and deserves to be the best. Opt for 100% pure, natural beeswax, preferably sourced from a local beekeeper. It's not only environmentally friendly but also burns longer and cleaner.
Next comes your double boiler. This tool ensures your beeswax melts evenly without scorching. Remember, candle making isn't a race. Take your time and let the beeswax melt slowly to maintain its inherent, delightful fragrance.
Your choice of wick matters, too. Aim for a pre-waxed, braided cotton wick. It burns cleanly and helps your candle burn longer. Wick holders or tabs are also necessary. They secure the wick at the bottom of your candle and ensure it burns evenly.
Preparing the Workspace
Having gathered all your materials, you're ready to set up your workspace, a crucial step that sets the stage for your candle making adventure. A well-prepared workspace is like an artist's canvas, it's the foundation where your creativity unfolds. It's where science meets art, and raw materials transform into exquisite beeswax taper candles.
Choose a quiet, well-lit area with a flat, heat-resistant surface. This will be your candle making station. Keep it clean, uncluttered, and free from distractions. Safety is paramount; ensure your workspace is away from children, pets, and flammable materials.
Let's visualize your workspace with a simple table:
Workspace Area | Purpose |
|---|---|
Flat, heat-resistant surface | Main working area |
Containers for materials | Organizing wicks, wax, and tools |
Trash Bin | Quick disposal of debris |
Safety equipment (fire extinguisher, first aid kit) | For dealing with emergencies |
Once you've set this up, you're one step closer to bringing your beeswax taper candles to life. Take a moment to admire your workspace. Feel the anticipation. You're about to embark on a journey of creativity, patience, and craftsmanship. Each step you take is a stroke on the canvas of your creation.
Melting the Beeswax
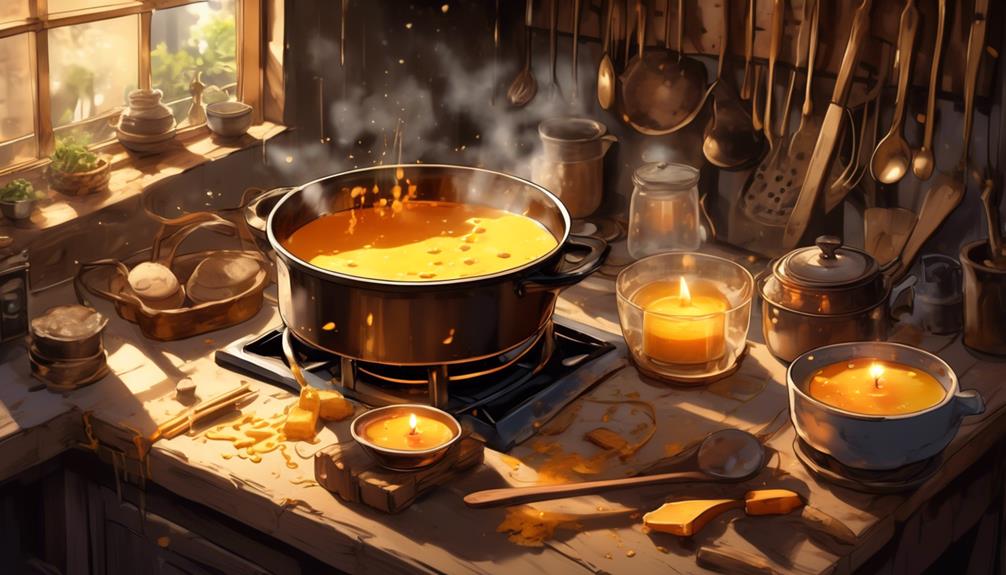
With your workspace primed and ready, it's time to dive into the heart of the process: melting the beeswax, a step that's both scientific and magical in its transformation.
Begin by cutting the beeswax into small, manageable pieces. This isn't just for ease of handling; smaller pieces melt more evenly and quickly, reducing the risk of scorching. Pour the beeswax into a heatproof container—a metal pitcher or a glass bowl works best.
Now, it's time for the heat. Opt for a double boiler setup for this process. It's safer and gives you more control over the temperature. Remember, beeswax is delicate; it doesn't take kindly to high heat. Keep the flame low and steady, stirring occasionally. Let the beeswax melt slowly, witnessing its transformation from solid to liquid.
Be patient. It's tempting to rush, but hasty heat can ruin your beeswax. Watch as it turns from a golden solid to a clear, honey-like liquid. Breathe in the sweet, earthy aroma that fills your workspace.
This is the art of candle-making, where patience and precision are rewarded with the perfect beeswax taper candles.
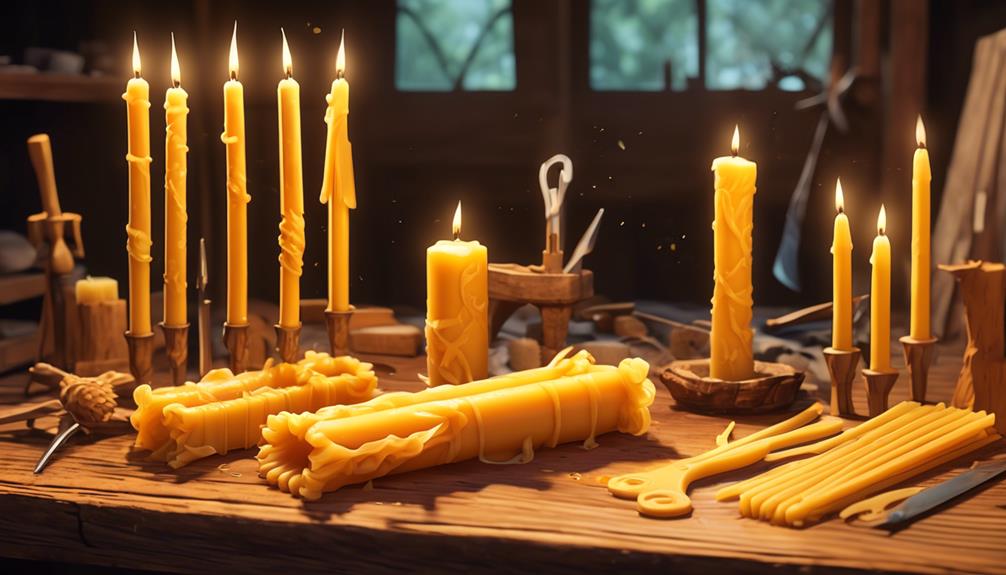
Dipping the Taper Candles
As the last of your beeswax melts into a clear, honey-like liquid, you're ready to embark on the next artistic step: dipping your taper candles. With your pre-cut wicks at hand, you'll plunge each one into the warmed, fragrant wax. Lift it out slowly, allowing the wax to envelop the wick completely. You're not just dipping a wick; you're crafting a tangible echo of sunlight and flowers.
Once coated, hold the wick straight for a moment, letting the wax set. Your candle begins to form, layer by delicate layer. As you repeat this process, a rhythm develops – dip, lift, hold, and again. It's a dance between you, the wax, and the wick. Each immersion builds the taper, the heart of your candle, a little bit more.
Be patient. Beautiful things grow slowly, and your candles are no exception. Let each layer dry before dipping again, and soon you'll see your efforts reflected in the thickening taper. By the time you're finished, you'll have a set of hand-dipped beeswax taper candles, each one a glowing testament to time, care, and artistry.
Cooling and Trimming Process
Now, you'll move on to the cooling and trimming stage, an equally significant part in the creation of your beeswax taper candles. It's here that your candles acquire their final shape and smoothness. It's a meticulous process, but one that's worth every moment.
First, you'll need to let the candles cool. This is an essential step that requires patience. Hang the candles in a cool, dry place, away from direct sunlight or heat sources. This helps preserve the color and texture of the beeswax. Allow them to cool and harden completely, which could take several hours. The waiting can be a test of patience, but it's crucial for the quality of your candles.
Once cooled, you'll notice the wicks are long and unruly. That's where trimming comes into play. With a sharp pair of scissors, carefully trim the wicks to about a quarter inch. This size is perfect for a clean, even burn.
Candle Care and Safety Tips
Caring for your beeswax taper candles properly, coupled with adhering to safety guidelines, will ensure they illuminate your space beautifully for ages. Good candle care isn't just about aesthetic appeal, it's also about safety, and you'll find that a few simple habits can prolong the life of your candle and enhance your experience.
Candle Care Tips | Why it Matters | Safety Precautions |
|---|---|---|
Trim the wick to 1/4 inch | Prevents soot and prolongs burning time | Avoids high flames and potential fire hazards |
Use a candle snuffer | Keeps wax clean and prevents wax splatter | Prevents hot wax from causing burns |
Keep it on a heat resistant surface | Preserves furniture and surfaces | Prevents heat damage and potential fires |
Store in a cool, dry place | Maintains candle's shape and scent | Avoids melting or damage to surrounding items |
Frequently Asked Questions
What Are the Benefits of Using Beeswax for Making Candles?
You'd love using beeswax for candles! It's completely natural, so you're avoiding toxins found in many commercial candles.
When you burn beeswax, it purifies the air by releasing negative ions, aiding in allergy and asthma relief.
It also burns slower and drip-free compared to other waxes, so your candles last longer.
Plus, beeswax has a sweet, honey-like aroma which creates a cozy atmosphere.
Can I Add Scents or Colors to My Beeswax Candles?
Absolutely, you can add both scents and colors to your beeswax candles. It's a great way to customize your candles to your liking.
Just melt your beeswax, then stir in essential oils for scent, and candle dye for color.
You'll want to be careful not to add too much, as it can affect the burning quality of your candle.
With a bit of creativity, you can create your own unique, beautifully scented and colored beeswax candles.
How Long Do Beeswax Taper Candles Typically Burn?
You're wondering how long beeswax taper candles typically burn. Well, it's quite impressive. On average, they'll burn for about 10-12 hours. That's longer than most other types of candles.
However, remember it also depends on the candle's quality and thickness. Thicker candles tend to last longer.
Are Beeswax Candles Eco-Friendly?
Absolutely, beeswax candles are eco-friendly. They're a natural, renewable resource, produced by bees without causing them harm. When you burn beeswax candles, they don't emit toxins or pollutants, unlike some other types of candles. Plus, they're biodegradable, so they won't contribute to landfill waste.
As an added bonus, they even purify the air by releasing negative ions. So you're doing the environment a favor by choosing beeswax candles.
Where Can I Source Beeswax for Candle Making?
You're wondering where to find beeswax for your projects. It's easier than you'd think! Look for local beekeepers or farmers markets, as they often sell raw beeswax.
If that's not an option, you can find it online. Websites like Amazon, Etsy, and eBay have a wide selection. Make sure you're buying pure beeswax, not a blend, for the best quality.
Happy hunting!
Conclusion
Creating your own beeswax taper candles can be a delightful and rewarding experience. With the right materials, a prepared workspace, and a bit of patience, you've mastered an ancient craft.
Remember to let your candles cool properly and trim them regularly for optimal burning. Above all, adhere to safety guidelines to enjoy your candles without risk.
Now, go ahead, light up your handmade creation, and bask in its warm, natural glow. You've earned it.