Tap into the art of homemade soap-making with our easy guide to crafting nourishing beeswax bars, perfect for pampering your skin.
How to Make Beeswax Soap?
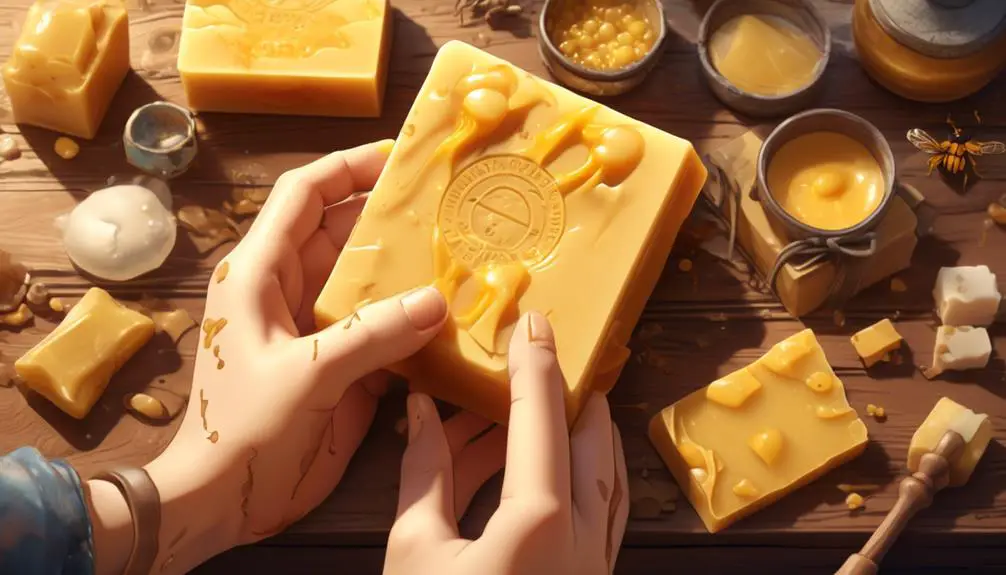
Imagine the sweet, earthy aroma of honey and beeswax wafting through your home, and the soft, supple skin that comes from using a soap you've crafted with your own hands. That's the magic of homemade beeswax soap, a product that's as nourishing for the skin as it is satisfying to make.
You're about to embark on a journey into the world of soap-making, learning how to blend natural ingredients like beeswax, essential oils, and lye into a bar of soap that's uniquely yours.
But what is the role of beeswax in soap? And how can you ensure your soap turns out perfect every time? We'll answer these questions and more, as we guide you step by step through the process.
Key Takeaways
- Beeswax is a natural wax that acts as a hardening agent, adds a golden color, and creates a protective barrier in soap.
- Choose a soap base that suits your skin type, such as shea butter, goat's milk, or glycerin.
- Use silicone molds or line wooden molds with parchment paper for easy soap removal.
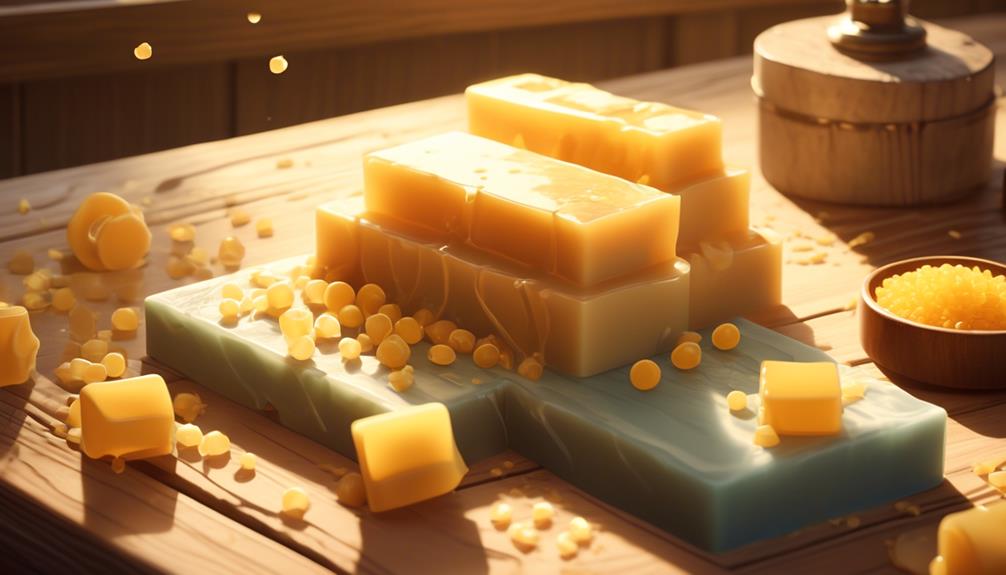
- Allow the soap to cure for 4-6 weeks to evaporate water and harden before using.
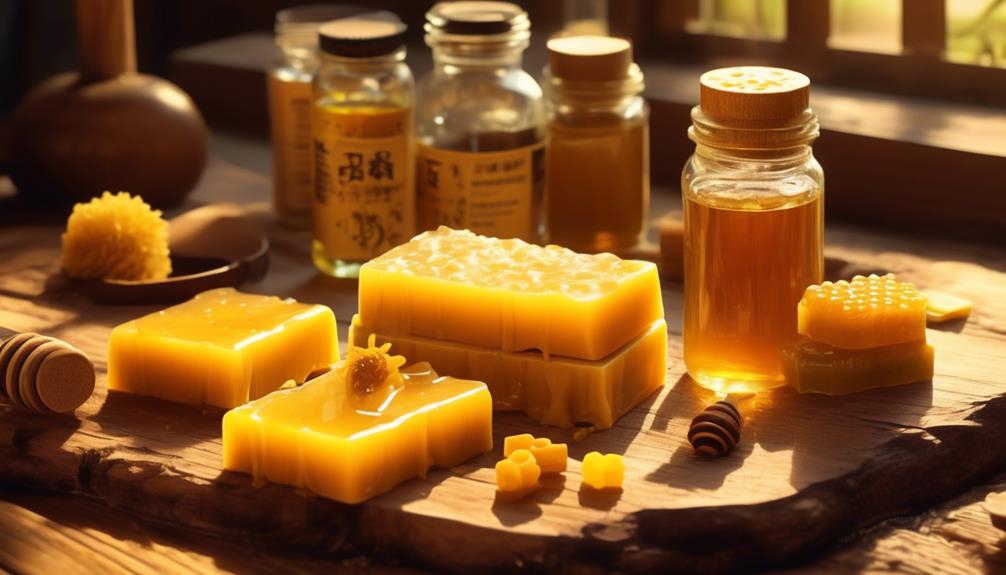
Gathering Your Soap-Making Materials
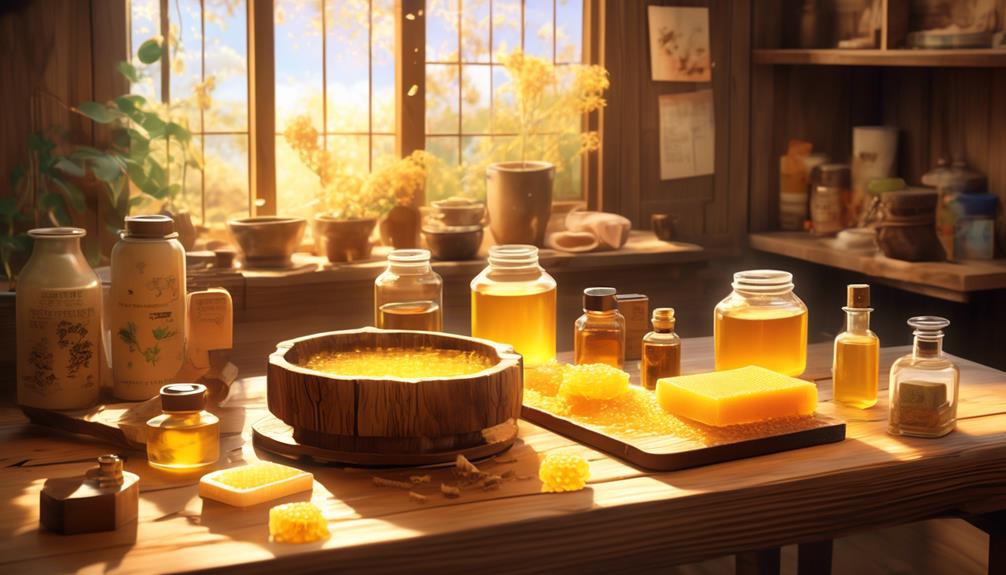
Before you can craft your own beeswax soap, you'll need to gather a few essential materials. First off, you'll need beeswax. You can either purchase this online or from a local beekeeper. A pound of beeswax will be enough for several batches of soap.
You'll also need a soap base. The most common types are shea butter, goat's milk, and glycerin. Each base has its own properties, so choose one that suits your skin type. You'll need about a pound of soap base for each batch of beeswax soap.
In addition to these, you'll need essential oils for fragrance. Lavender, peppermint, and citrus scents are popular choices. Make sure you choose oils that are safe for skin application. As a rule of thumb, you'll need about 10-30 drops of essential oil per pound of soap base.
Understanding the Role of Beeswax
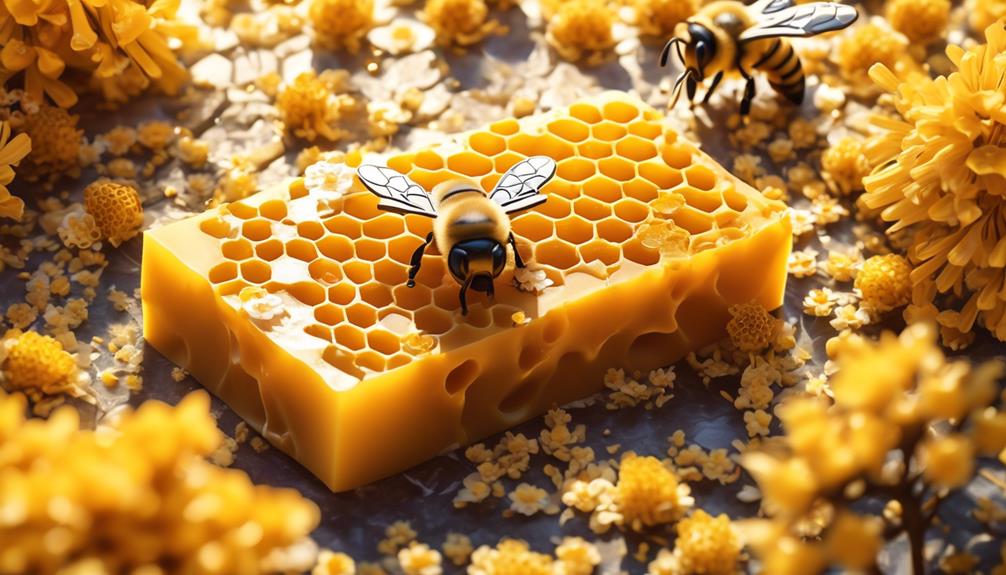
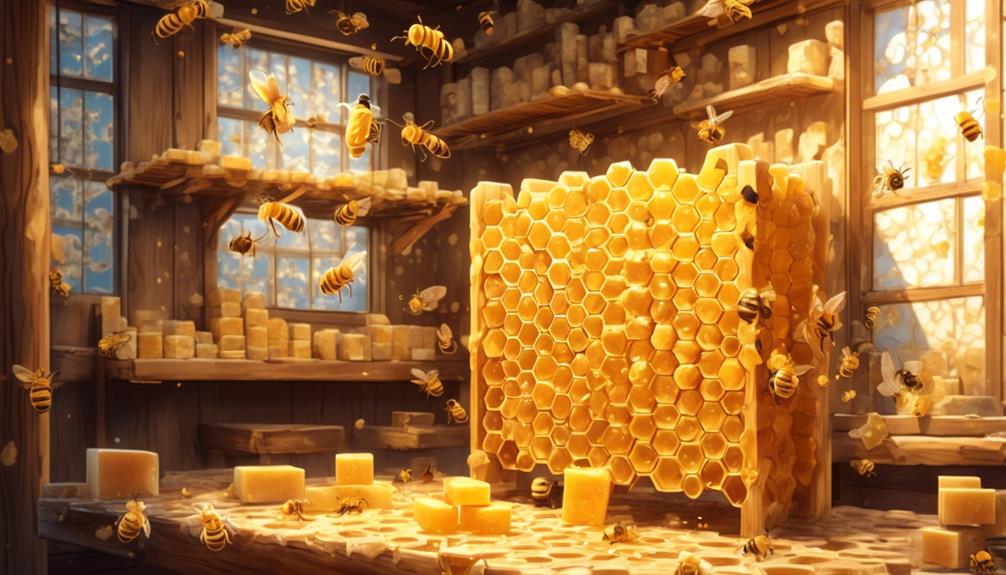
Now that you've gathered your materials, let's delve into the pivotal role beeswax plays in soap-making. Beeswax is a natural wax produced by honey bees, which they use to build their honeycomb cells. When added to soap, it contributes a wide range of beneficial properties.
Primarily, beeswax is a hardening agent. It increases the firmness of soap bars, making them last longer. It also lends a naturally golden color, giving your soap a beautiful, warm hue. But the benefits don't stop at aesthetics. Beeswax produces a protective barrier when applied to the skin, locking in moisture for a softer, more hydrating wash.
In terms of lather, beeswax adds a creamy, luxurious texture. It won't create a high, frothy lather like some synthetic additives, but you'll get a rich, smooth foam that feels wonderful on the skin.
Lastly, beeswax has a natural, sweet-smelling aroma. This means you can use less fragrance or essential oils in your soap recipe, making it more skin-friendly, especially for those with sensitivities.
Understanding this, you can see how beeswax enriches your homemade soap, elevating it from a basic cleansing bar to a nourishing skincare product.
Preparing Your Soap Mold
Having appreciated the role of beeswax in enhancing your homemade soap, it's time to get your hands dirty by starting with the preparation of your soap mold. The mold is what gives your soap its shape, so it's crucial to prepare it correctly.
First, you'll need to choose the right mold. Silicone molds are an excellent choice for beginners as they're flexible, easy to use, and soap pops out from them without much effort. If you're using a wooden mold, don't forget to line it with parchment paper to prevent the soap from sticking.
Next, clean your mold thoroughly. Any residue can interfere with your soap, so ensure it's free from dust, dirt, or old soap. Warm soapy water does the trick, but do dry it completely afterward to prevent water from mixing with your soap mixture.
Lastly, lightly grease your mold. A thin layer of any mild oil like olive or sunflower will do. It's a small step, but it'll make your soap removal process much smoother. Don't worry about the oil affecting your soap; it'll be washed off when you unmold your soap.
Mixing Ingredients Correctly
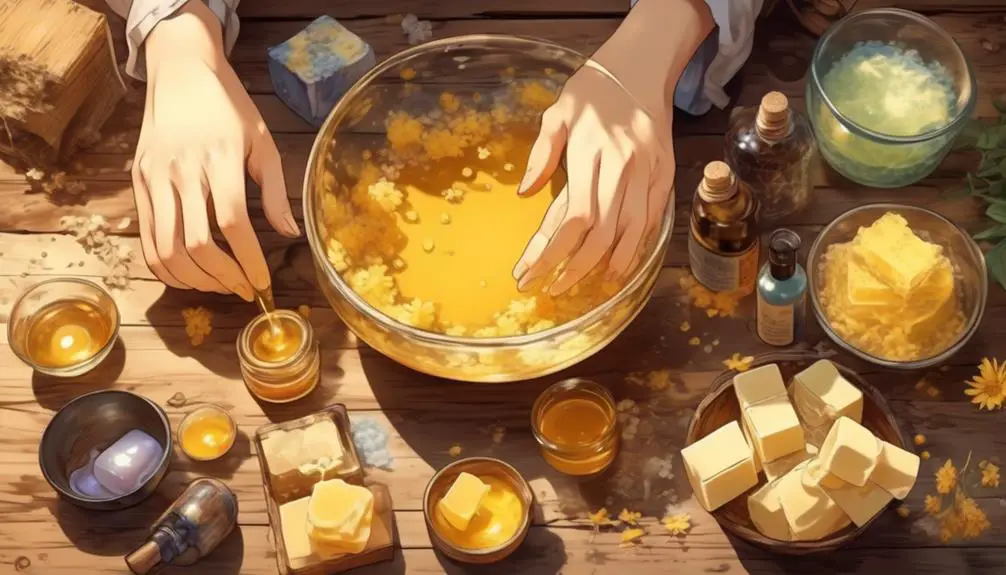
Once your mold is ready, it's time to dive into the heart of beeswax soap making: accurately mixing your ingredients. This step is critical as it ensures a smooth and homogeneous mixture, leading to a high-quality finished product.
Begin by melting your beeswax in a double boiler. Ensure it's completely melted before adding in your oils, typically coconut and olive oil. These oils should be warmed slightly to help them blend easily with the beeswax. Stir the mixture continuously until it's well combined.
Next, add your lye water to the mixture. It's crucial to pour it slowly, stirring constantly to prevent any lumps from forming. Always remember, safety first; wear gloves and goggles to protect yourself from the lye.
Finally, add your chosen essential oils and any colorants or exfoliants like oatmeal or ground almonds. Stir until everything is evenly distributed. Remember, patience is key here. Rushing can lead to an uneven distribution of ingredients, compromising the quality of your soap.
In the end, it's all about precision and patience. Following these steps will ensure you mix your ingredients correctly, producing a top-notch beeswax soap.
The Soap-Curing Process
After meticulously blending all your ingredients, you're ready to move onto the soap-curing process, a critical phase in beeswax soap making that ensures the soap's hardness and longevity. Once your soap mixture has been poured into the mold and it's set for 24 hours, the curing process begins. Here's how it works.
First, gently remove the soap from the mold. Don't rush this step, as you don't want to damage your soap. Once it's out, cut the soap into bars. A kitchen knife or soap cutter will do the job.
Next, place your soap bars on a drying rack. You'll need a cool, dry place to store them. Avoid direct sunlight and make sure there's good airflow around each bar. This ensures even curing and prevents moisture buildup.
Now, the waiting game begins. Your soap needs to cure for about 4-6 weeks. This time allows the water to evaporate, hardening the soap and making it last longer.
Troubleshooting Common Issues
Let's dive into troubleshooting common issues you might encounter while making beeswax soap, to keep your soap-making process as smooth as possible. Even seasoned soap makers can run into challenges, but don't worry, there are solutions for most problems.
Here's a quick guide to some common issues and their resolutions:
Issue | Possible Cause | Solution |
|---|---|---|
Soap is too soft | Too much oil or insufficient lye | Add less oil or more lye next time |
Soap is crumbly | Too much lye | Reduce the amount of lye in your next batch |
Unusual smell | Rancid oil | Always use fresh oils |
Soap is sticky | Too much beeswax | Reduce the quantity of beeswax |
Color is inconsistent | Uneven mixing | Ensure all ingredients are thoroughly mixed |
Frequently Asked Questions
What Are the Benefits of Using Beeswax Soap for the Skin?
Beeswax soap benefits your skin in various ways. It's packed with vitamin A, which promotes skin hydration and regeneration. You'll notice it forms a protective barrier, locking in moisture without clogging pores. It's also anti-inflammatory, helping reduce redness and irritation.
You'll love how it naturally combats bacteria, keeping skin clean and healthy. Overall, you'll find beeswax soap to be a gentle, natural product that can improve your skin's texture and health.
Can Beeswax Soap Be Used on All Skin Types?
Yes, you can use beeswax soap on all skin types. It's particularly beneficial for those with sensitive or dry skin, as it's known for its moisturizing properties. However, it doesn't mean it's not suitable for oily or combination skin.
Beeswax soap helps balance your skin's natural oils, so it won't make your skin too oily or too dry. Just remember, everyone's skin is unique, so what works for one person may not work for another.
How Long Can Beeswax Soap Last When Stored Properly?
When stored properly, your beeswax soap can last up to three years! To maximize its lifespan, make sure you're keeping it in a cool, dry place.
Don't let it sit in water or high humidity as this can cause it to soften and spoil faster.
Can I Add Essential Oils to My Beeswax Soap for Added Fragrance?
Absolutely, you can add essential oils to your beeswax soap for fragrance. You'll simply incorporate the oil of your choice during the soap making process. It's a great way to personalize your soap and make it truly unique.
Just ensure you're using oils safe for skin application. From lavender to peppermint, the options are endless. Be aware though, essential oils are potent, so a little goes a long way.
Enjoy your soap making adventure!
Are There Alternatives to Beeswax That Can Be Used in Soap Making?
Absolutely, there are alternatives to beeswax you can use in soap making.
If you're vegan or allergic to beeswax, you might consider using plant-based waxes like candelilla or carnauba. They're great substitutes and provide similar hardness and texture.
Soy wax is another option, but it's softer, so you'll need to adjust your recipe.
Conclusion
Now you've got the hang of making your own beeswax soap! Remember, patience is key during the curing process as you wait for your soaps to harden.
Don't stress if you encounter any issues – they're common and part of the learning curve.
Keep experimenting with different ingredients and molds to make your soaps unique.
Enjoy the process, appreciate the benefits of your homemade soap, and be proud of your new, eco-friendly skill!