Whisk through our guide on cleaning beeswax for candles, and unveil the secret to perfectly scented, natural candles from your own backyard harvest.
How to Clean Beeswax for Candles?
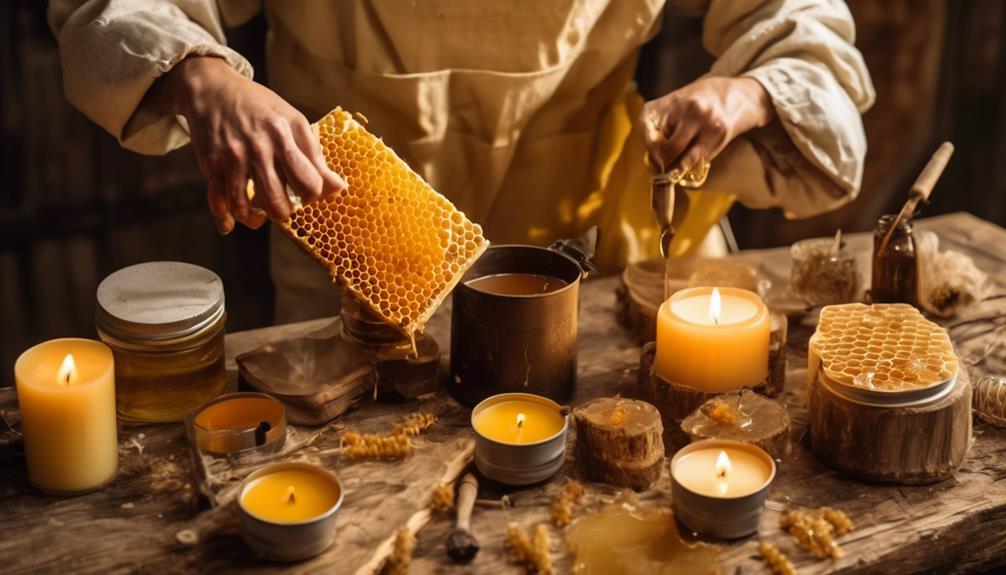
Imagine you've just harvested a large quantity of raw beeswax from your own backyard beehive. You're excited about the prospect of turning this golden treasure into beautifully scented, natural candles.
However, before you can pour that first mold, you've got a crucial step to conquer: cleaning the beeswax. The process might seem daunting, especially if you're a beginner. But don't worry. With a proper understanding and a bit of patience, you'll be able to purify beeswax effectively, keeping its quality intact.
So, why does this matter and how exactly do you clean beeswax for candles? Well, let's explore that, shall we?
Key Takeaways
- Source raw beeswax from local beekeepers or online suppliers
- Chunk beeswax into smaller pieces for even and quick melting
- Melt the beeswax in a double boiler and skim off impurities
- Allow the beeswax to cool naturally at room temperature before removing from the mold and storing properly
Gathering Your Beeswax Supplies
Before diving into the process of cleaning beeswax for candles, it's crucial that you gather all the necessary supplies to ensure a smooth and efficient operation. You're going to need raw beeswax, which you can source from local beekeepers or online suppliers. It's essential that the beeswax is raw and unprocessed; this means it'll still contain impurities that you'll remove during the cleaning process.
Next, you'll need a large pot for melting the beeswax. Remember, beeswax has a high melting point, so a durable pot that can withstand the heat is necessary. Also, a smaller pot or heat-safe bowl will be needed for the double boiling method, which is the safest way to melt your beeswax without scorching it.
A metal strainer or cheesecloth comes in handy for filtering out the impurities from the wax. The cheesecloth works better as it has finer mesh, but a metal strainer will do in a pinch. Lastly, you'll need a heat source, such as a stove or a hot plate. Make sure it's reliable and can maintain a steady heat.
With these supplies at hand, you're ready to start the process of cleaning beeswax for candles.
Initial Beeswax Preparation
Now that you've gathered all your supplies, it's time to get your raw beeswax ready for the cleaning process. This initial preparation is crucial to ensure a smooth and successful cleaning.
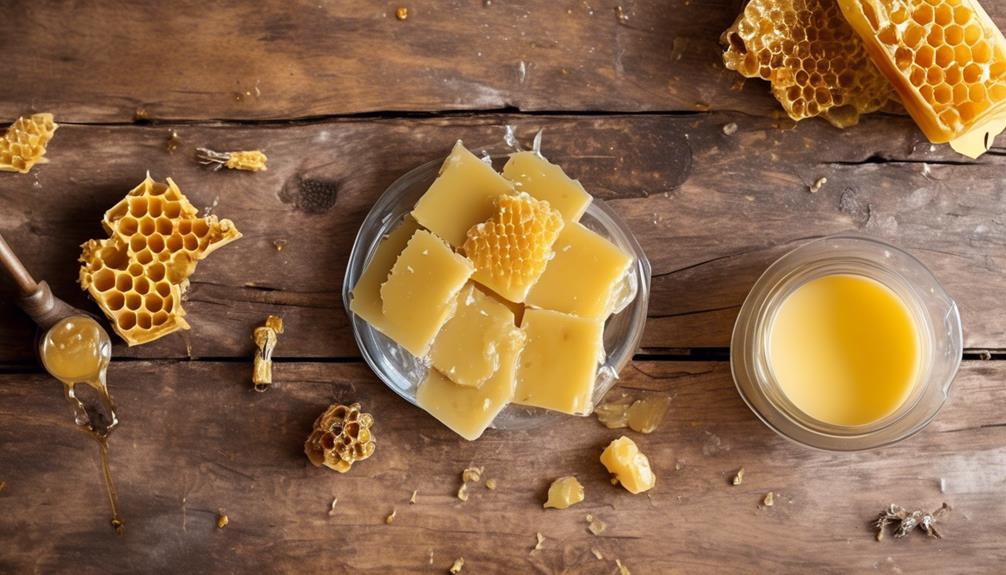
Firstly, inspect your raw beeswax carefully. You're likely to find some impurities such as dirt particles, dead bees, or hive parts. Don't worry, it's all part of the process. These impurities will be removed during the cleaning process.
Next, you'll want to chunk your beeswax into smaller pieces. This isn't as daunting as it sounds. Use a sharp knife and aim for pieces about the size of a walnut. However, don't stress about getting them all the same size. The key here is to make them small enough to melt evenly and quickly when heated.
Purifying Process for Beeswax
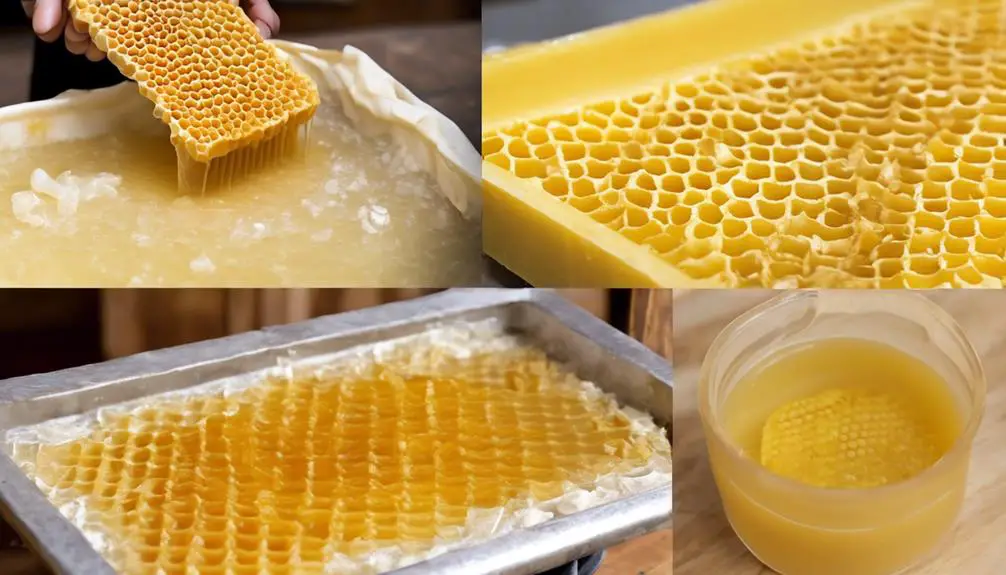
Once your beeswax is chopped and ready, it's time to dive into the purifying process, a crucial step to achieve clean, quality wax for your candle-making endeavor. This process is vital to remove any impurities in the wax, including dirt, honey, and dead bees.
Start by melting the beeswax in a double boiler. It's important not to heat the wax directly, as it can easily catch fire. The double boiler allows for a slow, controlled melt. Make sure you're wearing protective gloves and eyewear for safety.
As the beeswax melts, you'll notice impurities rise to the top. Skim these off with a spoon and discard. Keep the heat low and continue to do this until no more impurities surface.
Next, strain the hot wax through a sieve lined with a cheesecloth into a heat-resistant container. This double-straining method ensures all tiny bits are captured, leaving you with pure, clean beeswax.
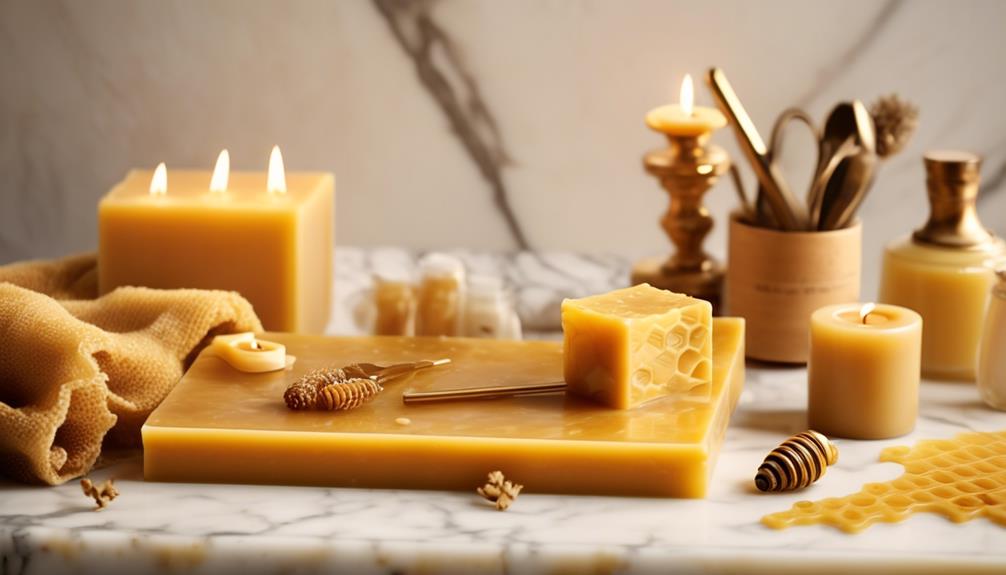
Before it cools and hardens, pour the wax into your desired mold. Once it's cool, your beeswax is ready for candle-making.
Proper Beeswax Cooling Techniques
Having poured your purified beeswax into the desired mold, it's crucial to follow certain cooling techniques to ensure the quality and longevity of your candles. The process of cooling is delicate and needs to be done correctly.
Firstly, never rush the cooling process. Beeswax has a high melting point and it needs time to cool down naturally. If you try to speed up the process by popping the mold into the freezer, you'll end up with a candle that's prone to cracking and has a poor burn time. Patience is key here.
Secondly, ensure that your candles are cooling in a room with a stable temperature. Sudden changes in temperature can cause the wax to contract or expand, leading to an uneven surface or cracks. A cool, dry room is the perfect environment.
Lastly, always remember to remove the candles from the mold only when they're completely solidified. This might take several hours, but it's worth the wait. If you try to remove the candle while it's still soft, it can deform or break.
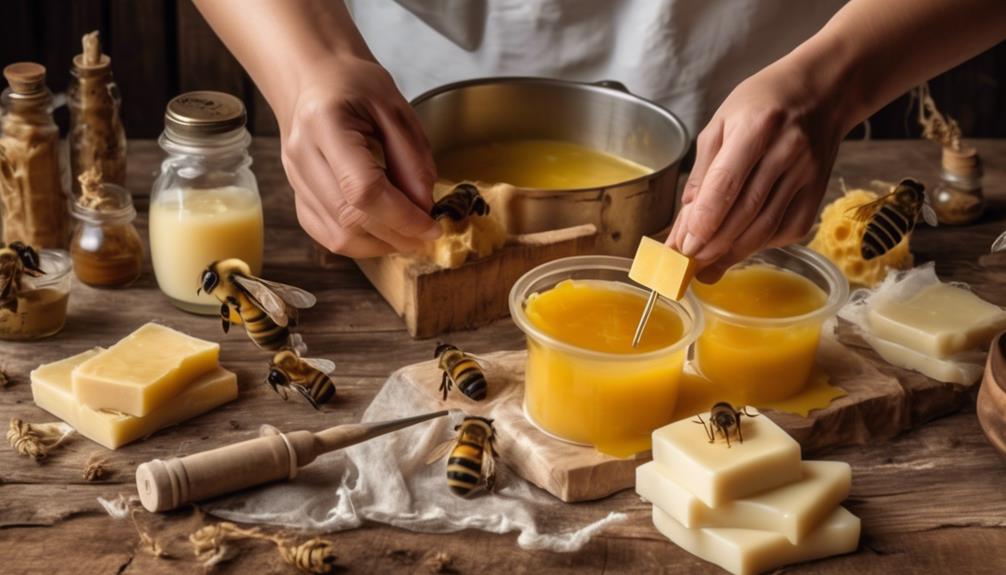
Storing Cleaned Beeswax Properly
To ensure your cleaned beeswax retains its quality, it's essential to store it properly and this involves a few crucial steps.
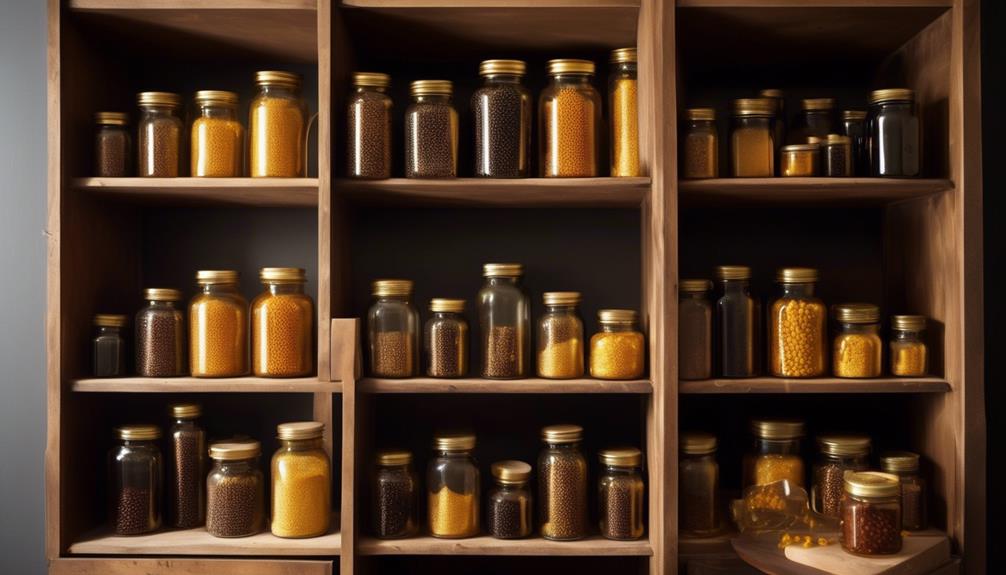
First, let's focus on the container. Use a clean, airtight container that's both dry and cool. This prevents moisture from getting in, which can ruin your beeswax. Glass jars with airtight lids are ideal.
Next, consider the temperature. Beeswax is best stored in a cool environment. A temperature range of 60-70 degrees Fahrenheit is optimal. Avoid exposing it to extreme heat or cold as it can degrade the wax's quality.
Now, let's talk about location. Store your beeswax in a dark place, away from direct sunlight. UV rays can bleach beeswax, altering its color and scent. A pantry or a cupboard is usually a good choice.
Lastly, ensure to keep your beeswax away from strong odors. Beeswax is highly absorbent and can take on the smell of its surroundings, which could affect the scent of your future candles.
Frequently Asked Questions
What Are the Benefits of Using Beeswax for Candles?
You'll find several benefits to using beeswax for candles.
It's natural, non-toxic, and hypoallergenic, making it a healthier choice for your home.
Beeswax candles also burn slower and produce less soot than paraffin ones, so they're more cost-effective and cleaner.
Plus, they release negative ions when burned, which can help purify the air.
Lastly, they've a natural, honey-like aroma that adds a comforting ambiance to any room.
How Can I Identify High-Quality Beeswax?
You can identify high-quality beeswax by its color and smell. It's typically golden yellow to brown and has a sweet, honey-like aroma. If it's bleached or lacks scent, it might've been processed.
Check for impurities, too. Good beeswax should be smooth, not gritty. Also, when you touch it, it shouldn't be overly sticky or greasy.
Can Beeswax Candles Trigger Allergies?
Yes, beeswax candles can trigger allergies in some people. You're likely to experience symptoms if you're allergic to bee pollen, as beeswax contains traces of it. Symptoms can include sneezing, watery eyes, and a runny nose.
However, beeswax candles emit fewer toxins compared to paraffin candles, making them a healthier choice overall.
If you're concerned about allergies, it's best to test your reaction to a small beeswax candle first.
What Is the Estimated Burning Time of a Beeswax Candle?
You're wondering about the burning time of a beeswax candle? Typically, a beeswax candle can burn for about 8 to 10 hours per inch. That's considerably longer than paraffin candles.
Remember, the exact duration depends on the candle's size, wick quality, and how you burn it. Always trim the wick before lighting to ensure a cleaner, longer burn.
Beeswax candles are indeed a long-lasting, eco-friendly option for your home.
Are There Different Types of Beeswax That Can Be Used for Candle Making?
Yes, there are different types of beeswax you can use for candle making.
Pure, unfiltered beeswax can give candles a natural, rustic look. However, it may contain impurities that affect the burn.
Filtered beeswax is cleaner, but it's more expensive.
You can also find colored and scented beeswax.
It's important to choose the right type for your project, considering factors like appearance, aroma, cost, and burn quality.
Conclusion
Now you're equipped with the knowledge to clean beeswax for candles. Remember, gather your supplies, prep your beeswax, purify it, cool, and store it properly.
The process may seem lengthy, but it's well worth the effort. With clean beeswax, your candles will burn brighter, longer, and healthier.
So, roll up your sleeves and start cleaning that beeswax. Your candles will thank you for it! Remember, practice makes perfect.